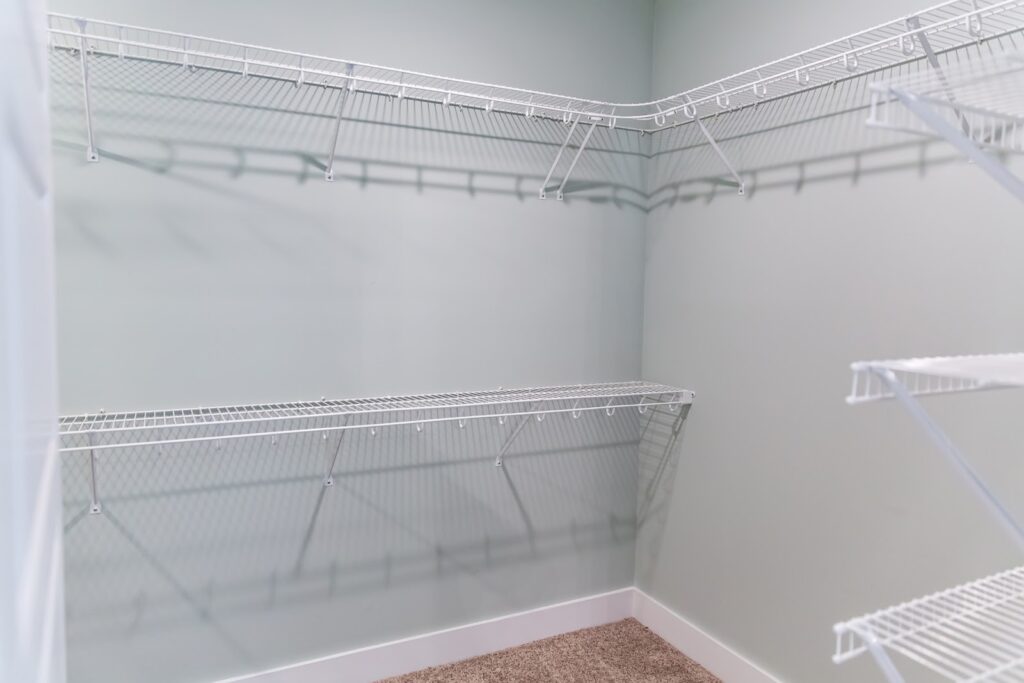
Are you running out of space in your closet? Adding wooden or metal shelves is not an option? The answer to that problem is installing wire shelving.
While it’s not exactly an attractive solution, having wire shelving in your closet is practical. It’s inexpensive and generally easy to install and move around. These wire shelves are a good option for temporary storage needs, especially if you know you’ll be changing up the layout of your closet later.
And if you’re wondering how easy it is to place in your closet, keep reading to find out!
What is Wire Shelving?
Wire shelving uses wire mesh or wire grids as its shelf surface. The shelves are supported by posts and brackets made from aluminum, stainless steel, or chrome-plated steel, making the structure incredibly durable.
Wire shelves are actually already used in commercial and industrial settings like retail stores and warehouses, as well as in residential spaces such as kitchens, closets, and garages. Even hospitals and labs use them because they’re easy to clean and promote good air circulation. If they’re good enough to be used in the medical field, they’re good enough for your closet, don’t you agree?
The General Process to Install Wire Shelving
As mentioned, you can easily install wire shelving in your closet and add some much-needed storage space. All it takes is a little planning and effort. Do take note that wire shelving can vary according to their manufacturer. However, the installation process is generally the same.
Optional Step: Remove Existing Shelves
If there are already shelves in your closet, it’s best to remove them for more space for the wire shelves. For aesthetic reasons, you might not want a mixture of wire and metal or wooden shelves. Of course, if your closet is already bare or empty, skip this step.
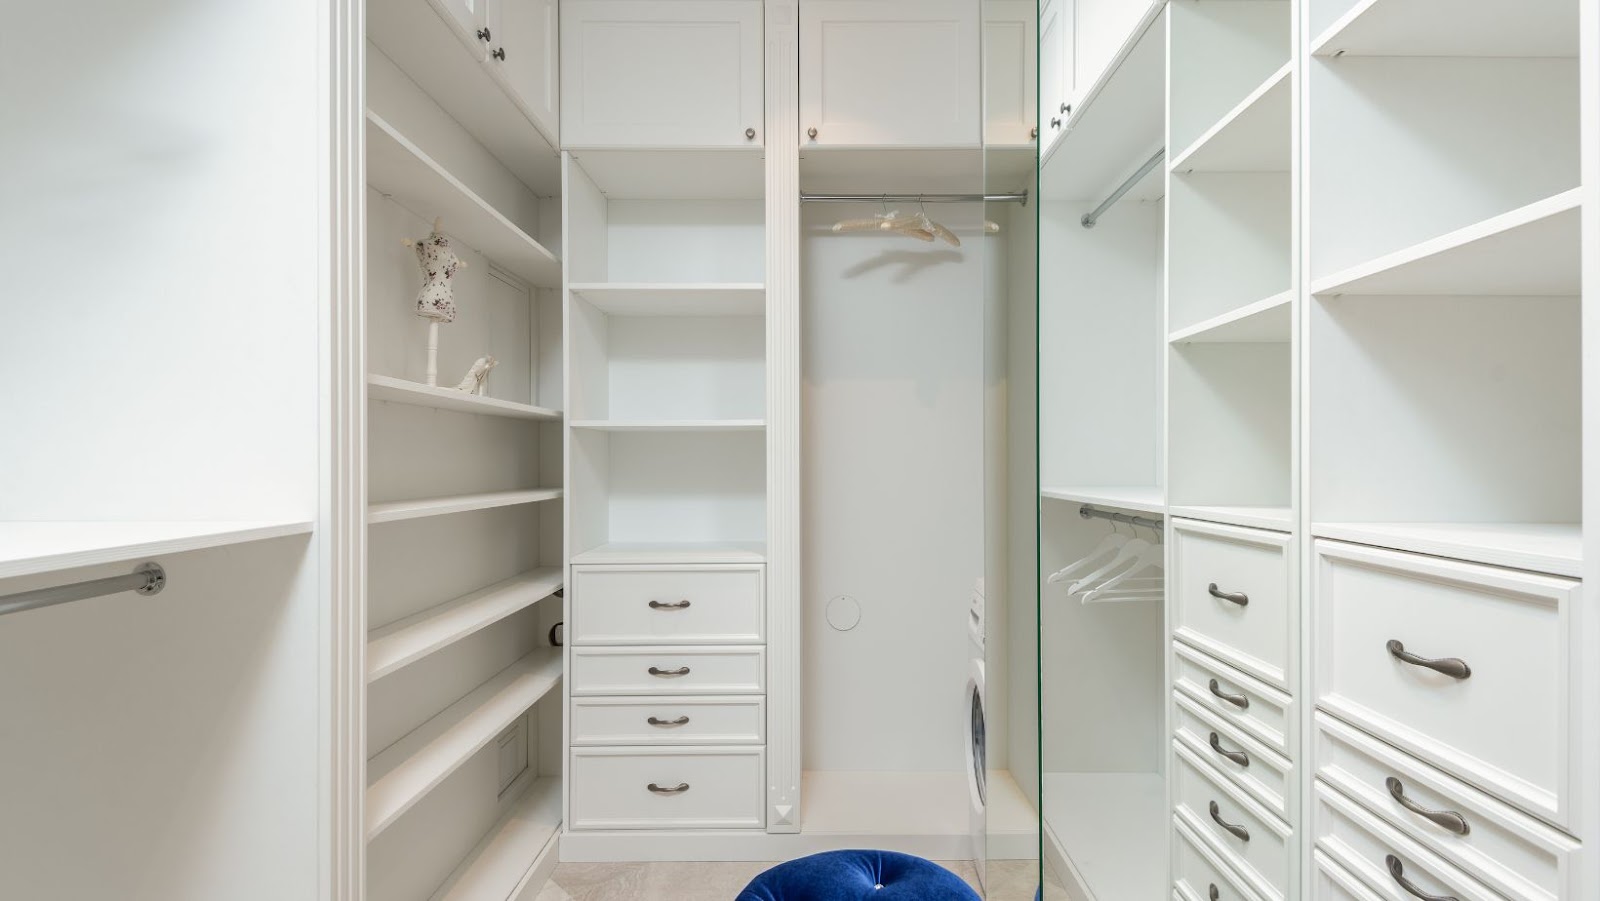
Determine Your Closet Layout
Determine how you want your closet to look. Visualize where you’ll place your clothes, shoes, and accessories. Doing this, you’ll have an easier time seeing where you’ll install the wire shelves and maximize your storage space.
Prepare the Materials and Tools Needed
The materials and tools needed for wire shelf installation will vary depending on the type of shelving you are installing and the size of the project. Some common materials and tools (aside from the wire shelving kit of your choice) include:
- Shelving brackets
- Screws and screwdriver
- Drill
- Level
- Tape measure
- Pencil
- Safety glasses
- Gloves
- Tape
Pro Tip: Get yourself some wire cutters so that you can customize your shelves depending on the space of your closet.
Measure the Space
Get your tape measure and size up the space in your closet. If your tape measure gives only centimeters or millimeters and you’re used to using feet and inches, use a feet and inches calculator to get more accurate results. When measuring, leave allowance or space for brackets and wall clips. The wire shelves won’t hang on the wall themselves!
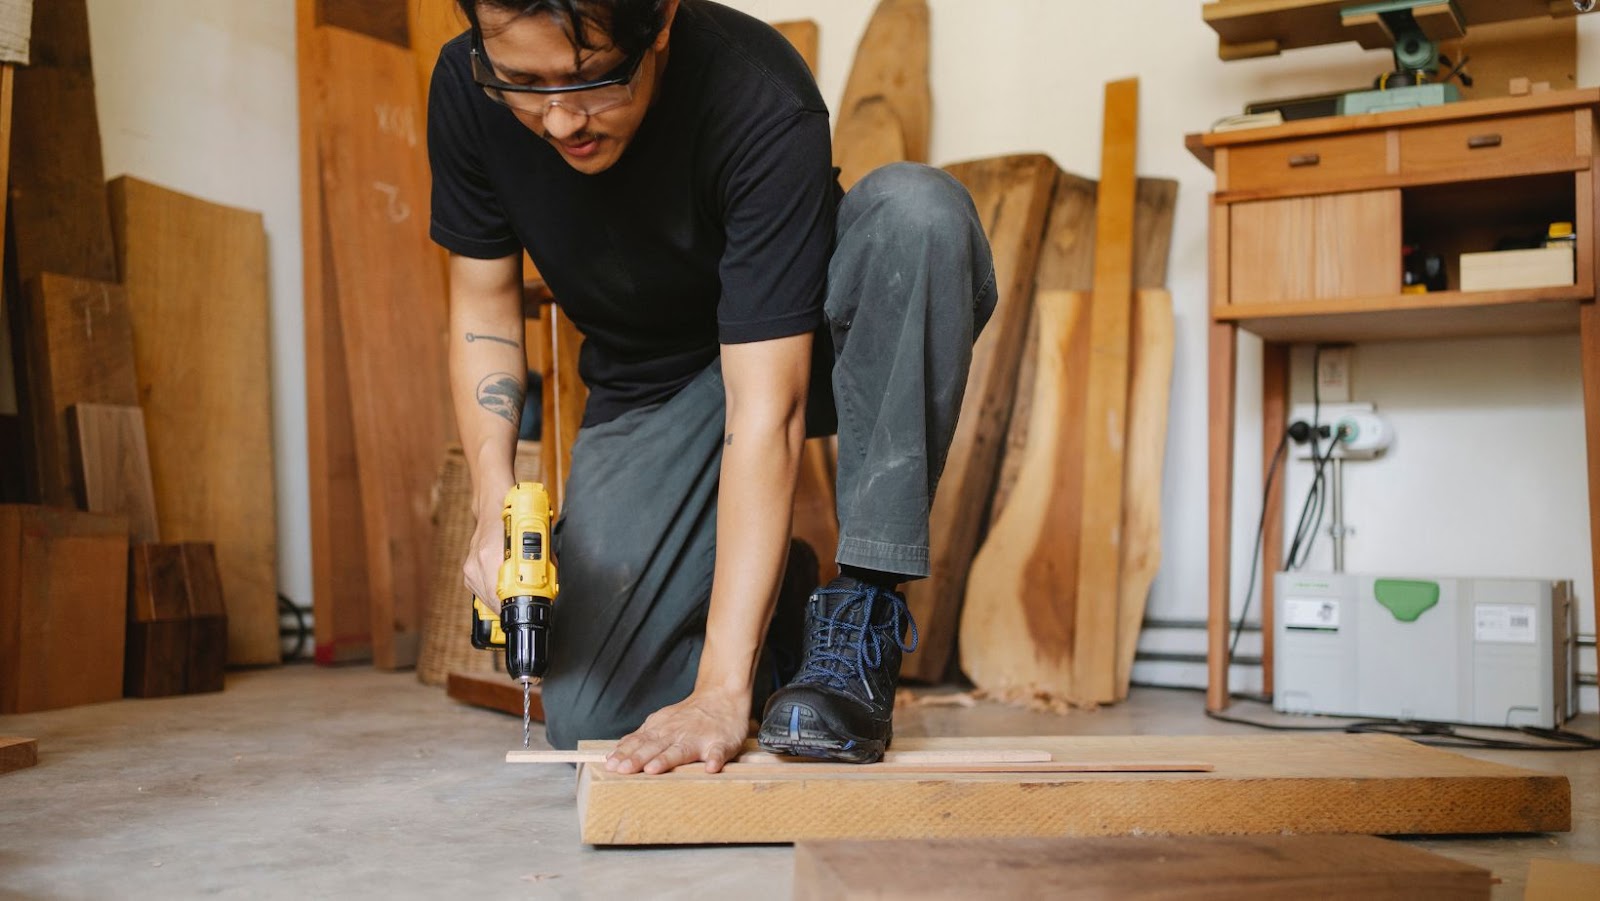
Mark and Drill Holes
Once you’re done measuring, mark where you’ll be drilling holes. Use a pencil or some form of tape that’s visible. Once that’s done, drill holes for the brackets and wall clips.
Install the Brackets and Wall Clips
You’re almost there! Once the holes are drilled, install the brackets and wall clips that came with the wire shelving kit. To ensure the stability of your wire shelving, make sure that all wall clips and brackets are firmly installed. If your wire shelf system includes angle brackets, attach them as an additional means of securing the shelves. Use a level to ensure that your wire shelving is straight.
Put the Wire Shelving on the Supports
Place the actual wire shelves on the supports and the brackets, and you’re done! Attach hanger clips, pegboards, and whatever accessories are included with the shelving system.
Final Thoughts
Wasn’t installing wire shelving fast? All you need to do is buy the kit, prepare the tools, and repeat the process for any other area where you want to add this convenient storage solution. And on the chance that you’ll need to remove them, they’re easy to uninstall as well.
Final tip: If you’re not a fan of the default look of the shelves,you can paint them in a color that suits your theme or other decor. Since you’ve already embarked on a DIY project, why not get creative and make those shelves truly your own?
Enjoy your newly organized closet!