Imagine the mouth-watering aroma of slow-smoked meat wafting through your backyard while friends and family gather around your very own brick smoker. A smoker is more than just a tool; it’s an upgrade to your outdoor cooking setup and a centrepiece for your barbecue gatherings. Building your own brick smoker might sound challenging, but with the right guide, it’s a straightforward and rewarding project.
This step-by-step guide will walk you through the process of creating a durable, efficient smoker that’s perfect for grilling, smoking, and more. You’ll learn how to lay the foundation, stack bricks, and install all the necessary components for a top-notch smoker grill. Whether you’re a seasoned DIY enthusiast or new to masonry, this guide has everything you need to transform a great idea into reality.
Preparing for the Build
1. Selecting the Location
The first step in building your brick smoker/brick BBQ is choosing the ideal spot in your yard or patio. Look for a flat, stable area with plenty of open space, away from your house or any flammable structures. This ensures good airflow and reduces fire hazards. Consider how the smoker will fit into your outdoor cooking area—will it complement your existing gas grill or stand as a central feature? The right location makes all the difference for both safety and convenience.
2. Gathering Materials and Tools
To build a sturdy and functional smoker, you’ll need the following materials:
- Bricks and mortar for the main structure.
- Cinder blocks for additional support.
- A pre-cast concrete slab as the base.
- A door frame, fire basket, angle iron, and a grate for functionality.
- Optional items include heat-resistant coatings and a durable lid or hinged top.
Gather the necessary tools, including a trowel, spirit level, safety gloves, and other masonry equipment. Ensuring you have all the right materials and tools from the outset will save time and help avoid mistakes.
3. Laying the Foundation
The same as with brick ovens, the foundation is a critical part of your brick smoker, as it supports the entire structure. Start by pouring a concrete slab in your chosen location. Use a flat piece of wood or a leveling tool to smooth the surface, ensuring there are no air bubbles that could weaken the base. Allow the concrete to cure for at least 24–48 hours before proceeding. This step ensures your smoker has a stable, long-lasting base.
With the location, materials, and foundation ready, you’re well on your way to creating a durable and efficient brick smoker that will enhance your backyard and barbecue experience. If, at this point you’re not sure if a smoker grill is the right option for you, you can alternatively try to build a pizza oven, which is also a great project and a fantastic addition to any backyard.
Constructing the Smoker
When you’ve got everything prepared, it’s time to start the proper building process. Here’s how it goes:
1. Building the Walls
With the foundation cured and ready, it’s time to start the brickwork for your smoker. Begin by laying the first row of bricks along the edges of your concrete slab, using a trowel to apply an even layer of mortar between each brick. Take your time with this initial layer, as it forms the base for the entire structure. Use a spirit level to ensure the bricks are perfectly aligned and the walls are straight.
Continue stacking bricks row by row, applying mortar between each layer. Stagger the bricks so that each one overlaps the gap between the bricks below it—this technique, known as a running bond, adds strength and stability to the structure. For extra reinforcement, you can integrate cinder blocks into the walls, particularly in areas where additional support is needed.
As you build, regularly check the alignment and level of the walls. This attention to detail will help avoid structural weaknesses or uneven surfaces. Leave space for the smoker’s doors, firebox, and chimney as you construct the walls, ensuring each section is properly measured and aligned.
2. Creating the Firebox
The firebox is where the heat and smoke originate, making it a crucial component of your smoker. Choose a location near the base of the smoker for easy access when adding charcoal or wood pellets.
Begin by marking out the firebox opening in the wall. Use a saw or masonry tool to cut a precise opening if needed. Lay bricks around the opening, applying mortar to secure them firmly in place. To reinforce the structure, use an angle iron to create a sturdy frame above the firebox opening, preventing the bricks from sagging or collapsing under heat and weight.
Inside the firebox, place a fire basket to hold your fuel—this ensures proper airflow and keeps the heat concentrated. Use durable materials like steel for the basket, as it will be exposed to high temperatures.
3. Adding Doors and Frames
Next, install the doors that will allow access to the firebox and cooking chamber. A sturdy door frame is essential to ensure the doors fit securely and can withstand the heat. Use masonry anchors to attach the frame to the brickwork, making sure it’s level and properly aligned.
Fit the doors snugly into the frame, testing them to ensure they open and close smoothly. A well-sealed door is important for maintaining consistent heat and smoke levels inside the smoker. You may also add vents to the doors to allow adjustable airflow, giving you greater control over the cooking temperature.
4. Building the Chimney
The chimney is vital for smoke ventilation and maintaining proper airflow throughout the smoker. Choose a spot at the top of the structure, directly above the cooking area, to ensure efficient smoke escape.
Begin by cutting or leaving a hole in the brickwork for the chimney opening. Build the chimney upwards by stacking bricks in a circular or rectangular shape, applying mortar between each layer. Use a spirit level to keep the chimney straight and stable.
Ensure the chimney is tall enough to allow proper ventilation without smoke lingering in the cooking chamber. You may want to install a vent or damper at the top to help regulate airflow and heat retention.
By completing the walls, firebox, doors, and chimney, your smoker’s main structure is ready. Each component plays a critical role in ensuring your brick smoker is efficient, durable, and ready to deliver the perfect smoked flavours.
Installing Functional Elements
After the main elements are ready, it’s time for adding more functionality to your smoker:
1. Placing the Cooking Grate
With the main structure of your brick smoker complete, it’s time to install the cooking surface. A durable grate is essential for optimal grilling and smoking. Select a grate made from heat-resistant materials, such as cast iron or stainless steel, to ensure it withstands high temperatures and frequent use.
Position the grate at a comfortable height above the firebox, leaving enough space for proper heat distribution and airflow. To secure the grate, build small ledges on the inner walls of the smoker using bricks and mortar. These ledges should be level and sturdy, allowing the grate to sit securely without risk of slipping.
Check that the grate fits snugly and remains stable. This placement is crucial for even cooking and makes a noticeable difference in the performance of your smoker grill.
2. Adding the Smoker Lid
A well-fitted lid is vital for retaining heat and smoke within the cooking chamber. The lid also allows you to maintain consistent temperatures, which is essential for achieving that perfect smoky flavour. You can either purchase a pre-made lid or construct your own using heat-resistant materials like metal or fireproof wood.
If creating your own lid, measure the top opening of the smoker carefully to ensure a proper fit. Attach a handle to the lid for easy lifting, and consider adding a hinge for convenience. A hinged lid allows you to open and close the smoker without needing extra space to store the lid while cooking.
For additional efficiency, ensure the lid seals tightly against the brick walls. This prevents heat and smoke from escaping and helps regulate the cooking environment. A good seal can make all the difference when smoking meats for long durations.
3. Ensuring Airflow and Efficiency
Airflow is a critical factor in the performance of your brick smoker. Proper ventilation allows the fire to burn efficiently, maintaining a consistent temperature and smoke flow. To achieve this, ensure there are vents or openings in key areas of the smoker.
The firebox should have an adjustable vent to regulate the amount of air entering the chamber. Similarly, the chimney should include a damper or vent at the top to control the smoke’s exit. These adjustments allow you to fine-tune the smoker’s temperature and smoke levels for various types of cooking.
Double-check all vents and openings to ensure they are free from blockages and functioning as intended. A smoker with well-placed vents and a balanced airflow will produce better results, from slow-cooked brisket to perfectly smoked fish.
Finishing Touches
Now all that is left is properly sealing the structure, test if it works as intended, and clean the smoker before its cooking debut.
1. Sealing and Curing the Smoker
Before firing up your new smoker, it’s important to seal and cure the structure. This step ensures the brickwork and mortar are protected from heat damage and makes the smoker more durable over time.
Start by applying a heat-resistant sealant to the bricks and mortar. This coating will help protect against cracks and improve the smoker’s longevity. Once sealed, allow the smoker to dry completely before moving on to the curing process.
To cure the smoker, light a small fire in the firebox and let it burn for several hours. Increase the fire’s size gradually over a few days. This process allows the materials to adjust to the heat and removes any residual moisture. Be patient during this step—proper curing ensures the smoker is ready for long-term use.
2. Testing Your New Smoker
Once the smoker is sealed and cured, it’s time to put it to the test. Light a fire using your preferred fuel, such as charcoal, wood pellets, or a mix of both. Observe the heat distribution and smoke flow throughout the cooking chamber and chimney.
Check for any adjustments needed, such as improving the seal on the doors, repositioning the grate, or fine-tuning the vents for better airflow. This is also a good opportunity to familiarise yourself with how the smoker operates and identify the optimal settings for various cooking needs.
3. Cleaning and Maintaining
Before your first barbecue, give the smoker a thorough cleaning. Use a wire brush or scraper to remove any debris from the brickwork, grate, and firebox. A good scrubbing ensures the smoker is ready for food preparation and removes any leftover residue from the curing process.
Regular maintenance is key to keeping your smoker in top condition. After each use, clean out ash and debris from the firebox and chimney and inspect the structure for any signs of wear. Proper care will ensure your brick smoker remains an awesome addition to your backyard for years to come.
With these functional elements and finishing touches complete, your smoker is ready to transform ordinary barbecues into extraordinary culinary experiences.
Tips for Getting the Most Out of Your Brick Smoker
Now that your brick smoker is fully built and ready to use, it’s time to explore how to get the most out of your new smoker. Here are some practical tips and ideas to help you achieve great results every time you light it up.
1. Experiment with Different Fuels
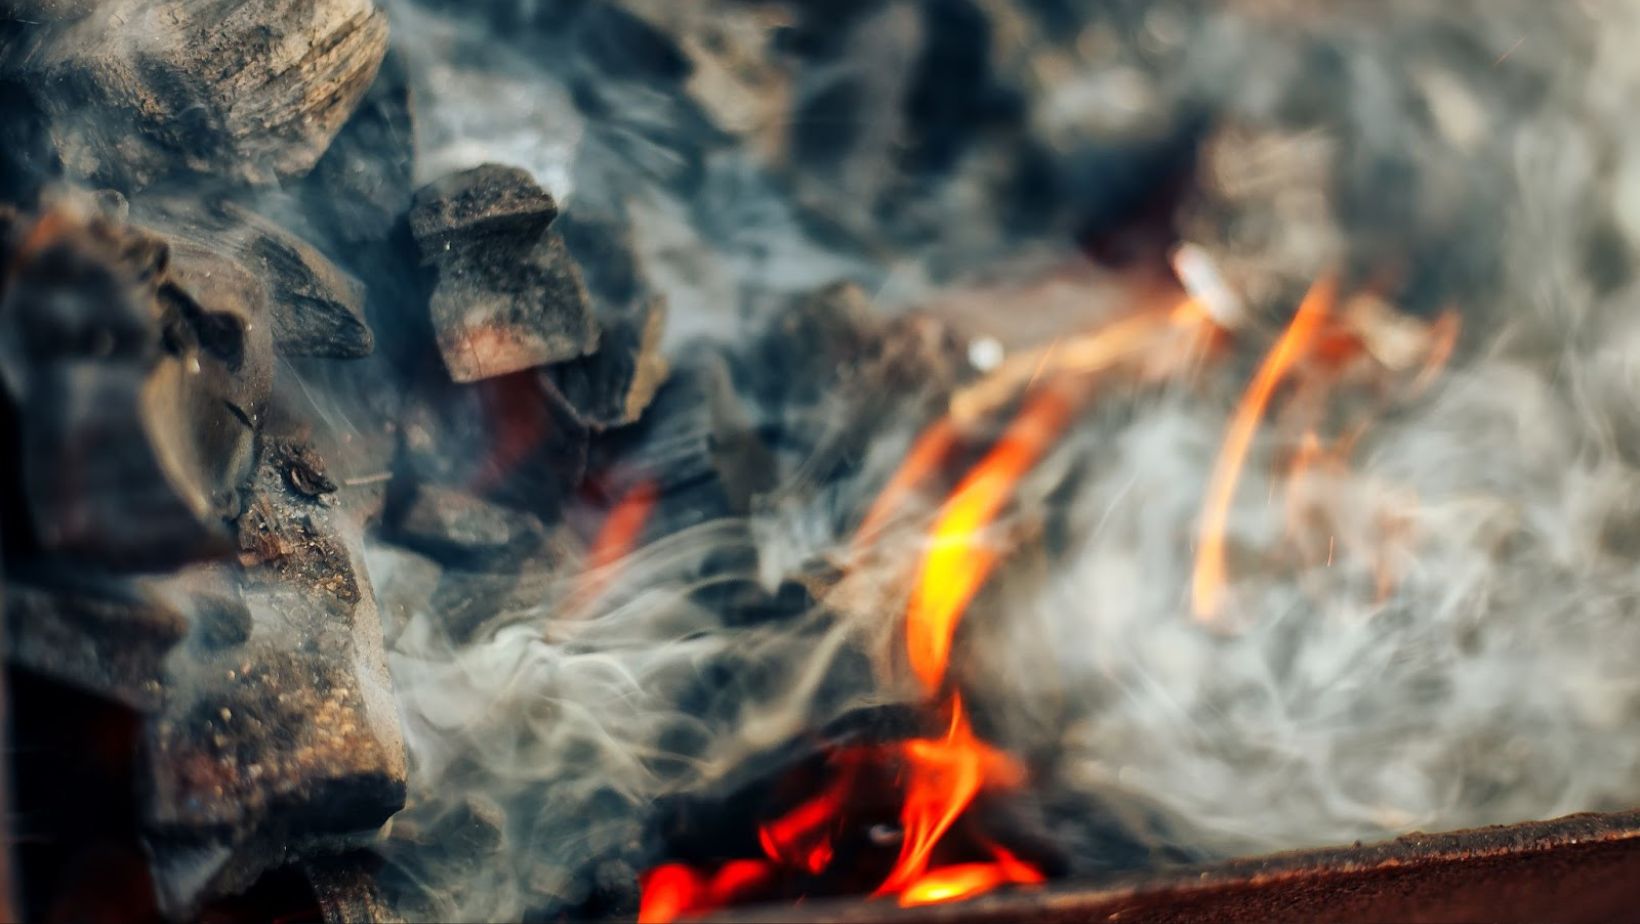
The type of fuel you use can significantly impact the flavor of your food. While charcoal is a reliable choice for steady heat, wood pellets or natural hardwoods such as hickory, mesquite, or oak can add distinctive smoky aromas to your dishes. If you prefer a more controlled heat source, you can even incorporate a propane attachment to supplement the firebox for added convenience.
2. Perfect Your Smoking Technique
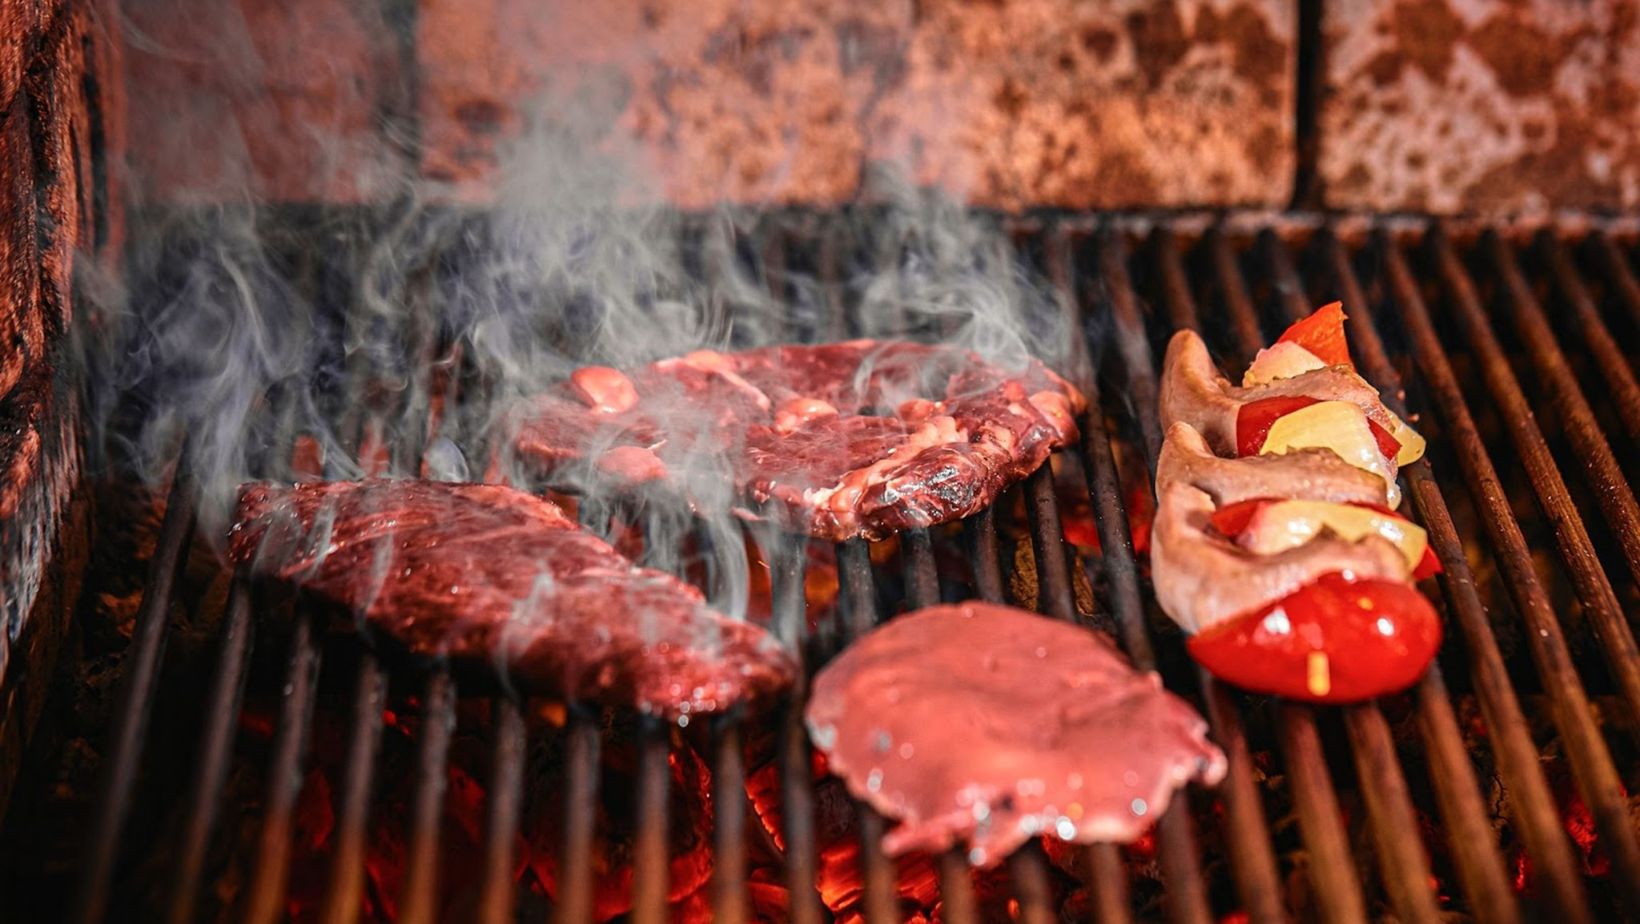
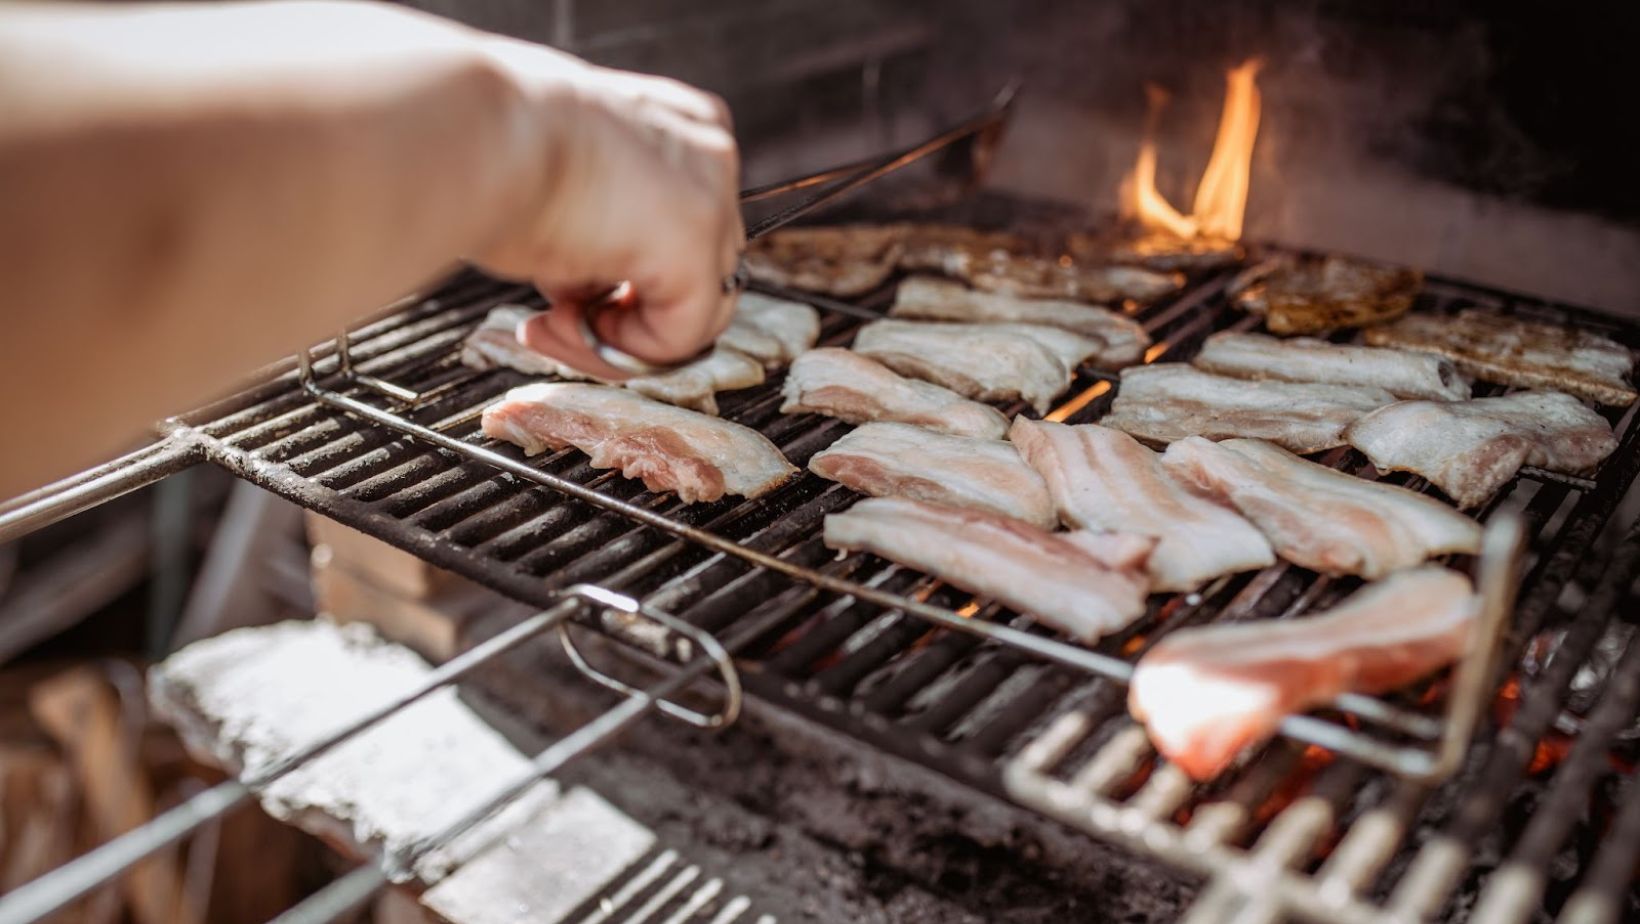
Smoking is an art that requires patience and precision. Start with smaller cuts of meat like chicken or fish to get a feel for temperature control and smoke levels. As you gain confidence, move on to larger cuts such as briskets or racks of ribs. Monitor the heat using a thermometer and aim for consistent temperatures, as fluctuations can affect the cooking process.
3. Try Unique Recipes
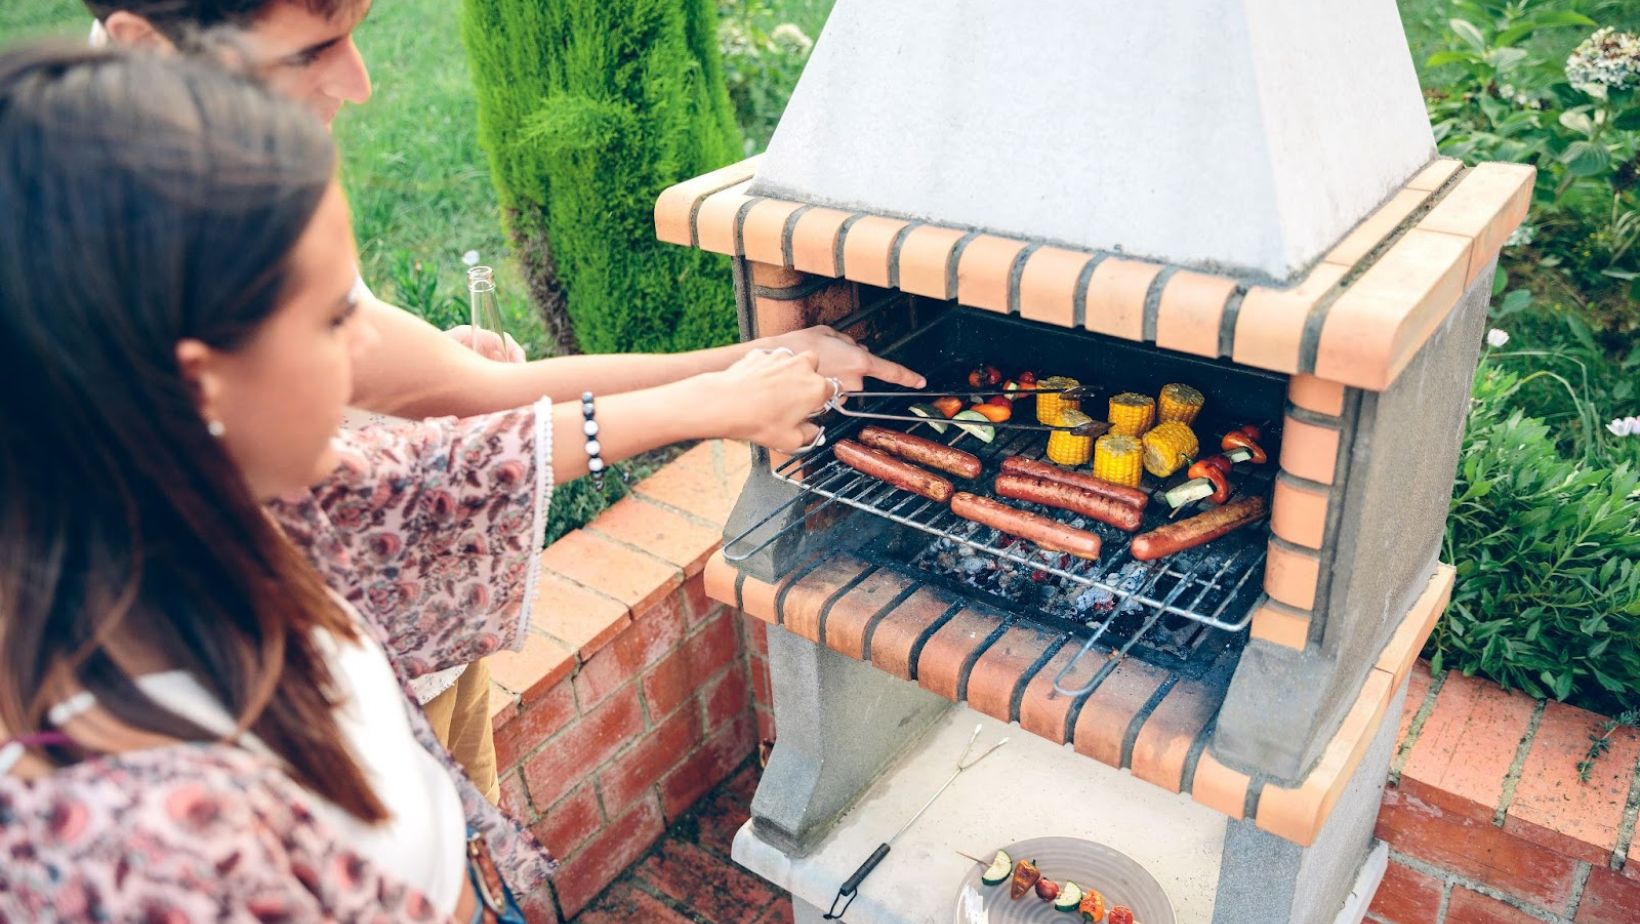
Your brick smoker is versatile enough for more than just meat. Experiment with smoked vegetables, cheeses, or even homemade pizza to expand your repertoire. The steady heat and smoky environment create unique flavors that transform ordinary dishes into culinary masterpieces.
4. Regular Maintenance for Longevity
Keep your smoker in peak condition by cleaning it regularly. After each use, empty the firebox of ash and inspect the doors, vents, and chimney for any buildup or obstructions. This prolongs the life of your smoker and ensures your food is always cooked in a clean environment.
Conclusion
Building a brick smoker is a rewarding project that adds immense value to your backyard and your outdoor cooking experiences. From the careful preparation of the foundation to the final finishing touches, every step contributes to a durable, functional smoker that you’ll enjoy for years to come.
With your new smoker, you’re ready to create mouth-watering barbecue dishes, impressing friends and family at every gathering. Beyond the food, the smoker itself becomes a centrepiece for your patio or yard—a testament to your creativity and craftsmanship.
Take pride in your work and enjoy the results of this great project. Whether you’re smoking a brisket, grilling fresh vegetables, or experimenting with new recipes, your brick smoker is sure to become a cherished part of your home. Now, light up that fire, let the smoke rise, and savour the flavours of a job well done!