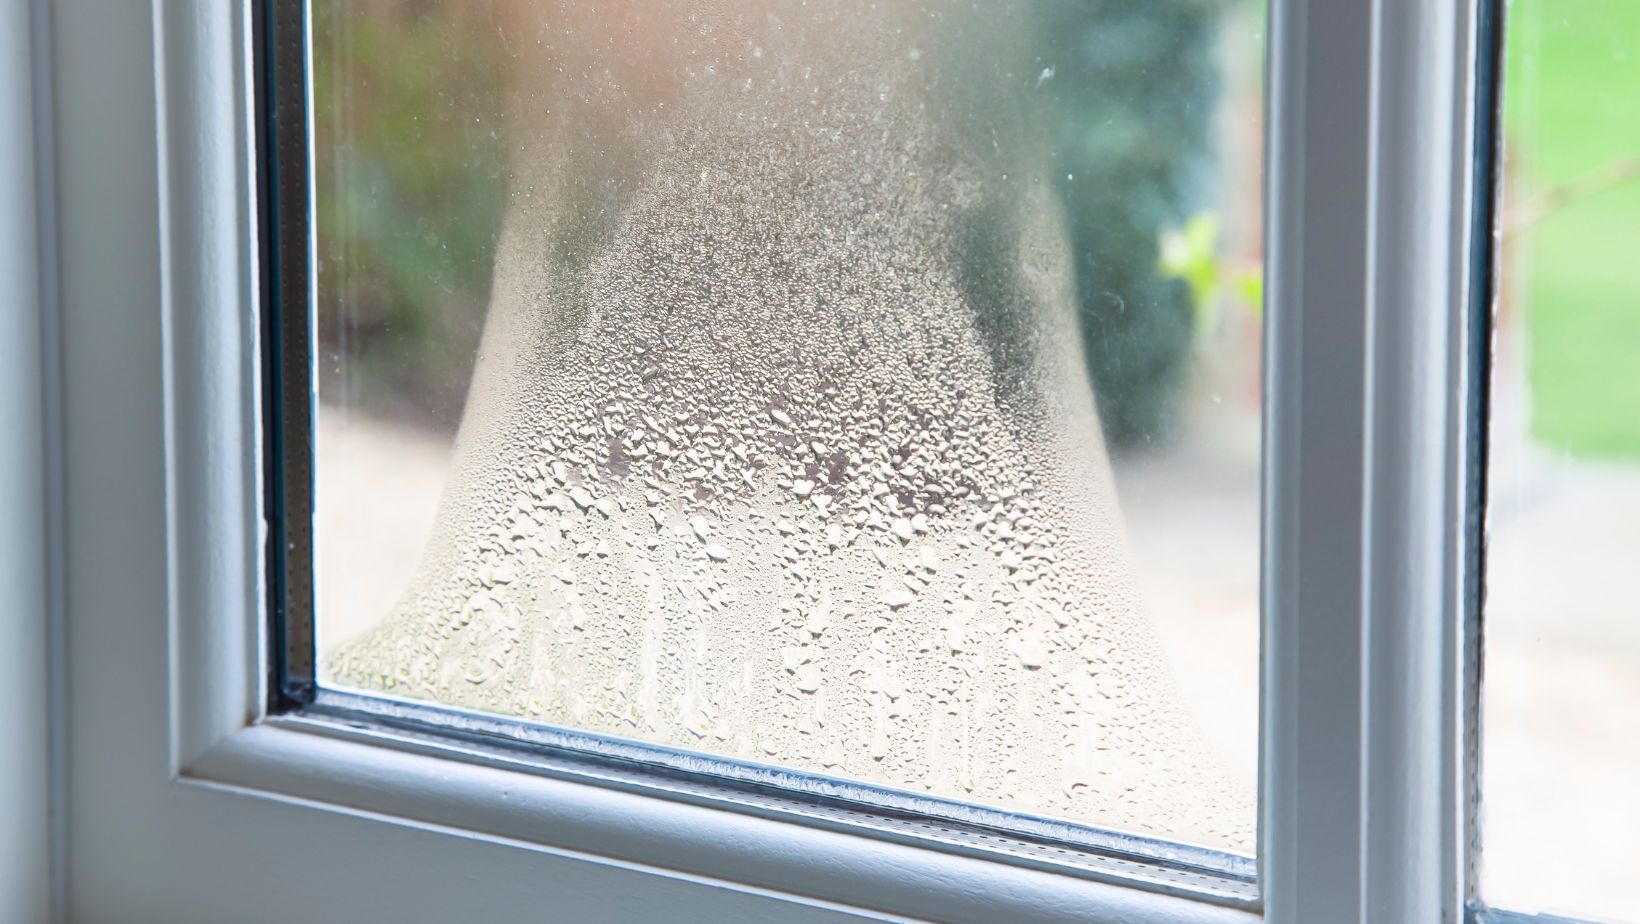
When it comes to improving your home’s energy efficiency, reducing noise, and tackling condensation, glazing is often the key. While full window replacements can be costly and disruptive, glazing kits offer a more affordable, accessible, and often DIY-friendly solution. These kits are primarily designed for “secondary glazing,” which involves adding a second layer of glazing material to your existing window frame. This creates an insulating air pocket, mimicking the effect of double glazing without the extensive renovation.
Understanding the different types of kits and the tools required is the first step toward a warmer, quieter home. This guide breaks down what glazing kits are, what they contain, and how to effectively install them yourself.
What is a Glazing Kit?
A glazing kit typically refers to a set of components used to add an extra pane of material—usually acrylic (Perspex) or polycarbonate—to the interior side of a window. This added layer is known as secondary glazing. The kit provides the necessary materials to create a seal and hold the new pane securely in place, forming an insulating air gap between the old and new glazing.
The goal is two-fold: to provide thermal insulation by trapping a layer of air, and to act as a barrier for sound and drafts. For those looking for a cost-effective, low-impact solution, especially in period or listed properties where original windows must be retained, these kits are an excellent choice.
Different Types of Glazing Kits and Their Components
Glazing kits are generally categorized by the method they use to fix the new pane to the existing frame. The choice often depends on whether you need to frequently access the original window.
1. Magnetic Glazing Kits
- How they work: These are among the simplest and most popular DIY options. They use self-adhesive magnetic strips and steel tape. One strip (usually the steel tape) is adhered to the window frame, and the magnetic strip is attached to the perimeter of the acrylic or polycarbonate sheet. The two simply ‘click’ together.
- What you need:
- Pre-cut Acrylic or Polycarbonate sheet (often supplied with the kit).
- Magnetic and Steel adhesive tapes (the core kit components).
- Cleaning materials (rubbing alcohol or degreaser) to prepare the frame.
- Tape measure and a pencil for marking up.
- Scissors or utility knife to cut the magnetic/steel tape.
- Best for: Windows that need occasional access for cleaning or ventilation. The panel is easy to remove and replace.
2. Track Glazing Kits (Sliding Systems)
- How they work: These kits use rigid PVC tracks that are fixed to the window frame. The new glazing sheet is then fitted into these tracks, allowing it to slide open horizontally or vertically, similar to a traditional sash window.
- What you need:
- Glazing sheet (plastic or sometimes glass).
- PVC/Aluminium track and trim components (for the top, bottom, and sides).
- Screwdriver and screws (or strong adhesive, depending on the kit).
- Measuring tools and a spirit level.
- Mitre block and saw if the tracks need to be cut to size for a neat finish.
- Best for: Windows that are opened frequently for ventilation or that require access to the outer pane.
3. Fixed or Clip Glazing Systems
- How they work: These systems are designed for a more permanent installation where the window is rarely, if ever, opened. They might use a two-part screw-fixed frame system or simple nylon clips/turn buttons that secure the panel to the frame.
- What you need:
- Glazing sheet.
- Clips, turn buttons, or rigid frame components.
- Drill and screwdriver for screw-fixed systems.
- Tools for measuring and cutting any frame material.
- Best for: Fixed windows, large picture windows, or areas where easy access is not a priority.
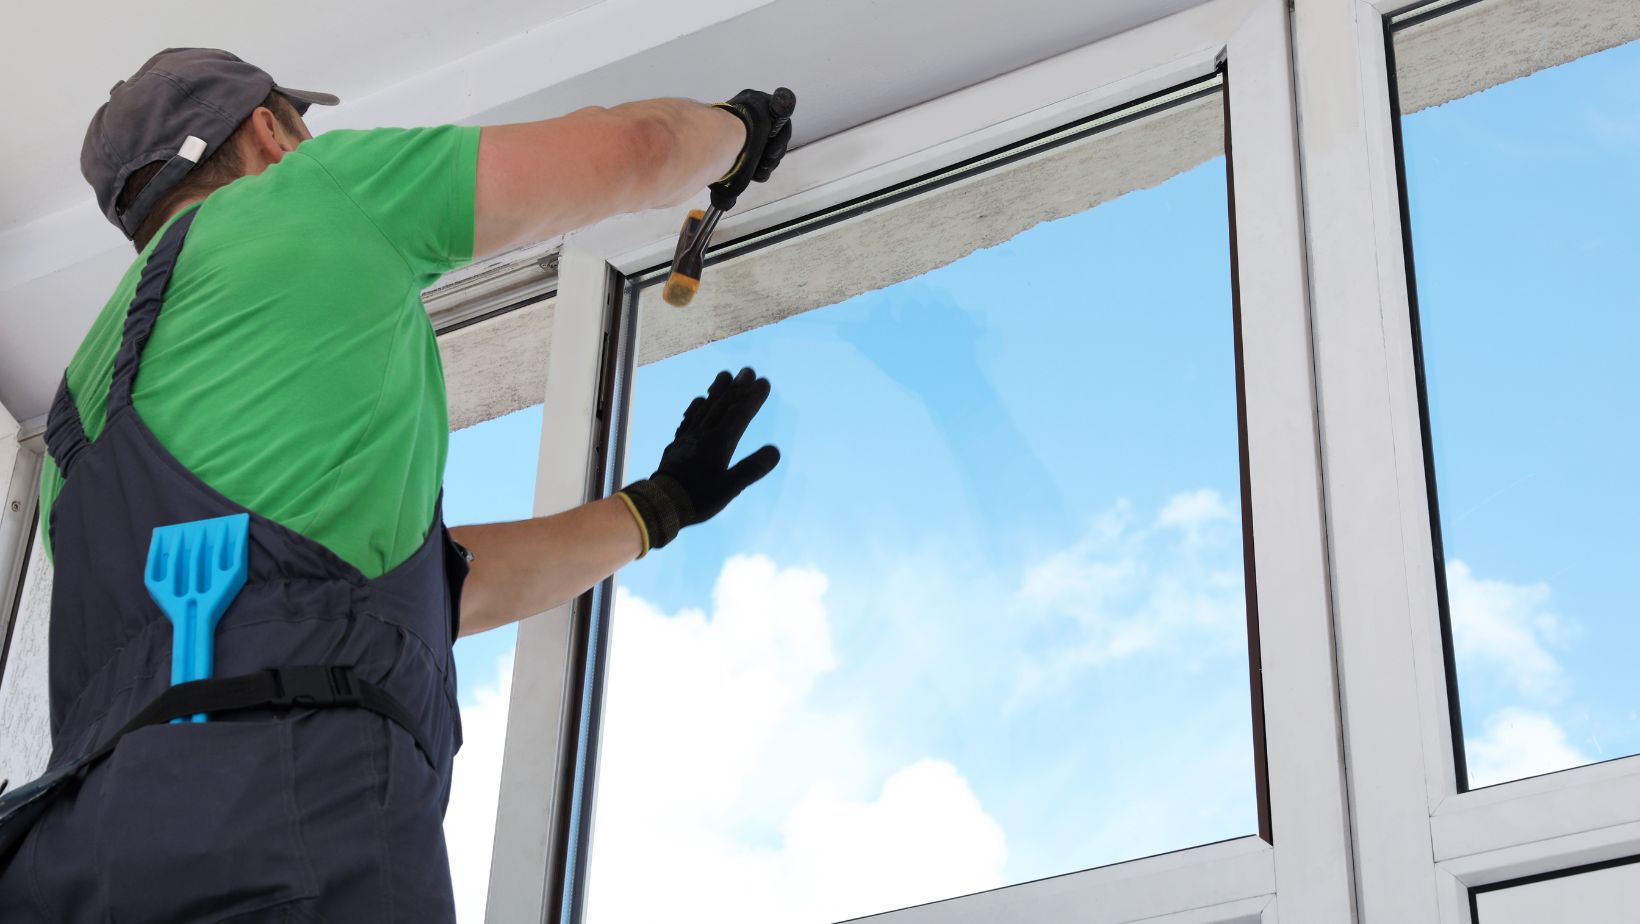
How to Use a Glazing Kit: Step-by-Step
While specific instructions vary by kit type, the general process for installation remains simple enough for most homeowners to handle. Undertaking a project like this as a form of DIY double glazing can save you significant money compared to professional installation.
Step 1: Measure and Order
Accurately measure the opening of your existing window frame where the secondary glazing will sit.
Most kit suppliers require the sight size (the area you can see through) plus a small allowance for the fixing system. Double-check the measuring guide for your specific kit, as an incorrect measurement is the most common mistake.
Step 2: Prepare the Frame
Clean the window frame thoroughly. This is crucial for adhesive-based systems (like magnetic kits) to bond correctly. Use a degreasing cleaner and allow the surface to dry completely. A clean, smooth surface ensures a long-lasting, airtight seal.
Step 3: Cut and Attach Fixing Components
For magnetic or clip kits, cut the self-adhesive tape or trim to size using a utility knife or shears, ensuring the corners meet neatly. Attach the first part of the fixing component (e.g., the steel tape for a magnetic kit) to your window frame. Ensure it is level and straight.
Step 4: Prepare the Glazing Sheet
If you have a magnetic kit, attach the complementary magnetic tape to the edges of your plastic glazing sheet. For sliding or fixed kits, attach any required edging or trim to the sheet before mounting.
Step 5: Install the Panel
Carefully align the prepared sheet with the fixing system on the frame and secure it in place.
- Magnetic: Gently bring the panel to the frame until the magnets connect.
- Sliding: Slide the sheet into the tracks.
- Fixed/Clip: Screw the permanent frame pieces into place or secure the clips/turn buttons.
Step 6: Final Checks
Test the fit. The panel should create a tight, draft-free seal. The small pocket of air you have just created is your thermal barrier. For sliding systems, ensure the movement is smooth.
By choosing the right kit and following the installation steps, you can drastically improve your home’s comfort and energy bill, making a small investment that pays off quickly in a quieter, warmer, and more efficient living space.